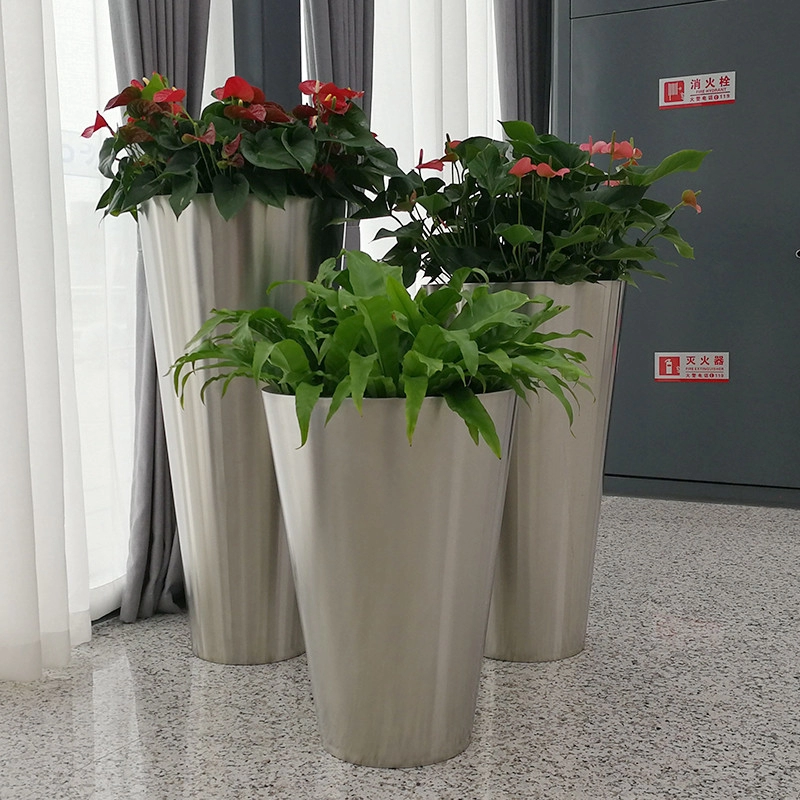
Ever notice how some gardens look effortlessly chic? Often, the secret lies in their containers. Traditional clay pots crack, plastic fades, but stainless steel flowerpots offer a sleek, enduring solution. Interestingly, sales of premium planters grew 17% last year according to Garden Trends 2025, with metal options leading the shift.
Perfect for modern balconies, these slim-profile containers maximize space. Our team’s 2025 rooftop garden project used 12 cylindrical stainless steel flowerpots to create a “green curtain” effect. Maintenance? A quick wipe-down keeps them shining.
Sharp angles meet organic greenery for visual contrast. Ideal for succulents or small citrus trees. Pro tip: Add rubber feet to prevent scratching delicate surfaces.
Vertical gardening solutions that triple planting space. One customer grew 18 herb varieties in a single 3-tier unit from Weiting Garden Design.
Transform blank walls into living art. Surprisingly lightweight despite their sturdy appearance. Use for trailing plants like ivy or strawberries.
Built-in reservoirs reduce watering frequency by 40% according to Horticulture Science Review. Perfect for vacation homes or busy plant parents.
Move sun-loving plants throughout the day. Heavy-duty casters support mature trees. Actually, we’ve seen 8-foot fiddle leaf figs thrive in these mobile units!
| Feature | Stainless Steel Flowerpots | Terracotta Pots |
|---|---|---|
| Lifespan | 20+ years | 3-5 years |
| Weight | Lightweight (avg. 5 lbs) | Heavy (avg. 15 lbs) |
| Frost Resistance | Excellent | Poor (cracks below 0°C) |
| Style Versatility | High (modern to industrial) | Limited (rustic only) |
Mistake #1: Using acidic soil without protective liner – causes corrosion
Mistake #2: Overlooking thermal conductivity – roots need insulation in hot climates
Mistake #3: Skipping drainage holes – leads to root rot within weeks