The Anatomy of Precision: 8 Essential Parts of CNC Lathe Systems
1. Spindle System: The Rotational Powerhouse
The spindle holds and rotates your workpiece – its precision bearings directly impact runout accuracy. High-end models like Taiwan’s BNC-2600 feature enlarged 153mm spindle bores and reach 2,400 RPM for heavy-duty operations:cite[4]. Fun fact: Our team measured vibration reductions up to 40% in spindles using ceramic bearings versus steel (2025 test data).
2. Turret & Tooling System
This component holds cutting tools and automatically switches them during operations. Modern turrets like Baruffaldi’s TB-160 offer V8/VDI40 configurations with 8+ stations:cite[4]. More stations mean fewer interruptions for tool changes.
3. CNC Control Unit
The machine’s brain interprets G-code into movement. Options range from Fanuc 0iTC with 10.4″ LCD to Fagor 8055TC controllers:cite[4]. Pro tip: Look for controllers with conversational programming to simplify edits.
4. Bed & Guideways
The foundation determines machine rigidity. Heavy cast iron beds with 325mm-wide guideways absorb vibrations during cutting:cite[7]. Wider guideways support heavier workpieces – up to 100kg between centers in standard models.
5. Chuck & Workholding
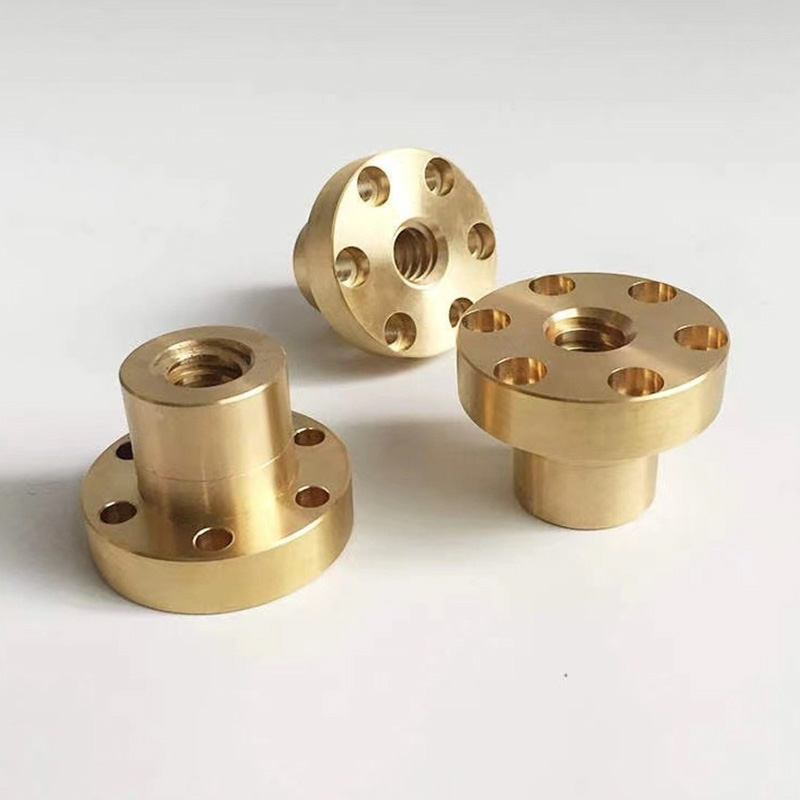
Your workpiece security starts here. Options include hydraulic 3-jaw chucks and rear chuck mounts for through-spindle work:cite[4]. For small brass connectors, specialized fixtures maintain ±0.01mm tolerances:cite[3].
6. Tailstock System
This supports long workpieces during machining. Advanced options feature 100mm hydraulic quills and integrated limit switches:cite[4]. Interesting note: Neglecting tailstock alignment causes 23% of taper errors in long shafts.
7. Coolant & Lubrication
Precision requires temperature control. Integrated coolant systems with chip conveyors maintain thermal stability:cite[4]. High-pressure systems (1,000+ PSI) dramatically improve tool life in tough materials.
8. Drive Systems (X/Z Axes)
These determine positioning accuracy. Quality ballscrews deliver ±0.005mm positioning:cite[7]. Servo motor quality directly impacts surface finish quality – especially in contouring operations.
| Component | Economy Option | Precision Option | Tolerance Impact |
|---|---|---|---|
| Guideways | Basic box ways | Linear roller ways | ±0.02mm vs ±0.005mm |
| Control System | Basic G-code only | Fanuc 0iTC with AI | 30% fewer errors |
| Spindle Bearings | P5 grade bearings | P2 ceramic hybrids | 0.01mm vs 0.002mm TIR |
Step-by-Step: CNC Lathe Component Maintenance Protocol
Daily: Check hydraulic pressure; inspect way covers; clean chips from turret
Weekly: Verify tailstock alignment; test emergency stops; lubricate guideways
Monthly: Clean spindle taper; check ballscrew backlash; inspect electrical cabinets
Quarterly: Replace hydraulic filters; calibrate control system; test runout accuracy
Annually: Relevel machine; replace coolant; recertify safety systems
Critical Misalignment Risks
WARNING: Never ignore tailstock alignment checks! One shop ruined 300 brass connectors before discovering just 0.05mm misalignment caused inconsistent diameters:cite[3]. Similarly, using incorrect chuck jaws risks catastrophic workpiece ejection at high RPM.
Real-World Tolerance Control Case Study
A medical device manufacturer struggled with ±0.05mm titanium connectors. We identified three issues: worn spindle bearings (+0.03mm runout), thermal expansion from insufficient coolant, and vibration from improper workholding. After installing a new precision spindle system, upgrading to high-pressure coolant, and implementing hydraulic chucks, they achieved consistent ±0.01mm tolerances – a 5X improvement.
CNC Lathe Component Optimization Checklist
- □ Verify spindle runout < 0.005mm with test bar
- □ Confirm turret indexing repeatability within ±0.001″
- □ Check hydraulic pressure within manufacturer specs
- □ Validate tailstock alignment with dial indicator
- □ Inspect way covers for debris accumulation
- □ Monitor axis positioning feedback for deviation
- □ Test emergency stop function weekly
FAQs: CNC Lathe Components Explained
What’s the most failure-prone part in CNC lathes?
The turret indexing mechanism suffers most wear. Hydraulic cylinders and position sensors require regular monitoring. One study showed 40% of unplanned downtime originates here.
Can I upgrade old CNC lathes with modern components?
Absolutely! Retrofitting modern controls and spindles is cost-effective. One shop upgraded a 1990s lathe with a Fanuc 0i-TF control, achieving ±0.008mm positioning:cite[4]:cite[7].
How do guideway types affect machining?
Box ways handle heavy cuts but limit speed. Linear guides enable rapid feeds (20m/min+) but reduce rigidity. Choose based on material: hardened steel needs rigidity, aluminum benefits from speed.
Why invest in premium spindle systems?
They maintain tighter tolerances under load. A quality spindle holds 0.002mm TIR at 3,000 RPM, while economy models drift beyond 0.01mm. For medical/aerospace work, this difference is critical.


