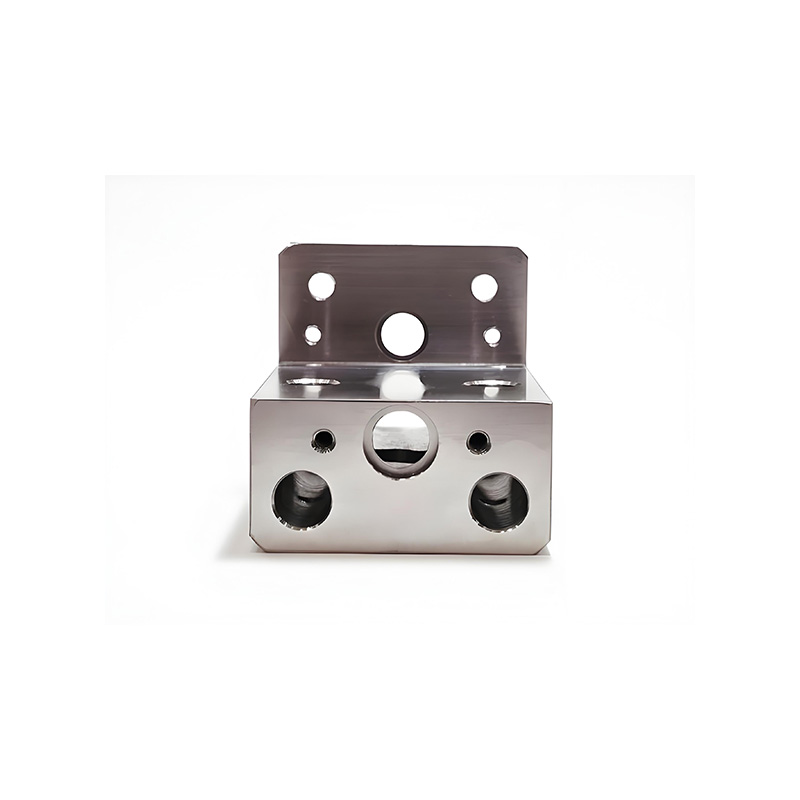
Understanding the intricate dance of a CNC lathe begins with knowing its core components. It’s like meeting a new team; you need to know who does what to achieve harmony. This guide unlocks the secrets behind the key parts of a CNC lathe, empowering you to boost efficiency, prevent crashes, and master your machine.
Every CNC lathe is built around a framework of critical parts of a CNC lathe. Knowing their function is non-negotiable for any serious operator.
The headstock houses the spindle, which rotates the workpiece. Its power and precision directly determine your finish quality. Think of it as the lathe’s powerhouse. Modern spindles on mid-range lathes often reach 6000 RPM or more:cite[3].
Mounted on the spindle, the chuck (like a 3-jaw or collet chuck) securely holds the raw material. Its grip is everything – a failure here is catastrophic. Regular cleaning and checking of jaw pressure are vital.
This revolving holder carries multiple cutting tools. The CNC program rotates it to bring the right tool into position. Using quality tool holders like parts of a CNC lathe such as precision BT40 taper tooling is crucial for minimizing runout (often below 0.005mm):cite[6] and ensuring accuracy.
Used for supporting long workpieces with a center, the tailstock prevents deflection during machining. It’s your best friend for maintaining precision on slender parts. It provides crucial opposing pressure for stable machining.
This heavy, rigid cast iron structure supports all other components. Linear guideways allow smooth, precise movement of the turret and tailstock. A twisted bed means consistent accuracy problems across every part you make.
The controller interprets G-code into electrical signals. These signals drive servo motors that move the axes with precision via ball screws:cite[3]. This system coordinates all movements, often achieving tolerances within ±0.001 inches:cite[1].
While both machines shape material, their part philosophies differ vastly. Manual lathes rely on direct human mechanical input. Conversely, parts of a CNC lathe are designed for integration with automated, programmable controls and auxiliary systems.
| Component | Traditional Lathe (Manual) | CNC Lathe (Computerized) |
|---|---|---|
| Control System | Handwheels, Levers | CNC Controller, Servo Drives:cite[3] |
| Tool Holding | Single Tool Post | Multi-Tool Turret |
| Movement | Manual Crank Operation | Automatic Axis Motion via Servos/Ball Screws:cite[3] |
| Feedback | Operator’s Senses | Encoders, Position Sensors (Closed-loop):cite[3] |
Dimensional errors and poor surface finish are common headaches. Often, this isn’t the machine’s fault, but rather unnoticed tool wear or incorrect offsets in the tool table.
The solution is a rigorous process for setting and verifying tool offsets, essentially teaching the machine the exact position of each tool’s cutting edge.
We once saw a 15% scrap rate on a brass fitting job. The problem? Worn inserts were being over-compensated with wrong offsets, causing subtle profile errors. Verifying and correcting all tool offsets against a fresh master tool eliminated the scrap entirely.
A surprisingly common mistake is setting tools on a cold machine. Notice: As the machine runs, the spindle and ball screws generate heat and expand, minutely changing their dimensions. This thermal growth can easily consume your tight tolerance margin. Always set tools after a warm-up cycle (15+ minutes of running):cite[5]:cite[10] or use the machine’s thermal compensation features if available.
Use this list to keep the critical parts of a CNC lathe in top condition and prevent unscheduled downtime.
The guideways and ball screws are absolutely vital. Without proper lubrication and protection from chips, they wear rapidly, leading to backlash, lost position, and costly repairs. Keeping them clean and lubricated is the number one priority.
For most shops running daily, a basic check for level and twist should be done quarterly. However, a full preventive maintenance (PM) by a qualified technician, checking spindle runout, axis alignment, and turret parallelism, is recommended annually or after every 4000 operating hours.
It’s not recommended. While tapers might seem similar, differences in hardness, dimensional tolerances, and pull stud specifications can lead to poor tool rigidity, rapid wear, and even catastrophic failure if a holder releases incorrectly. Stick to OEM or certified high-quality replacements like the linked precision components.