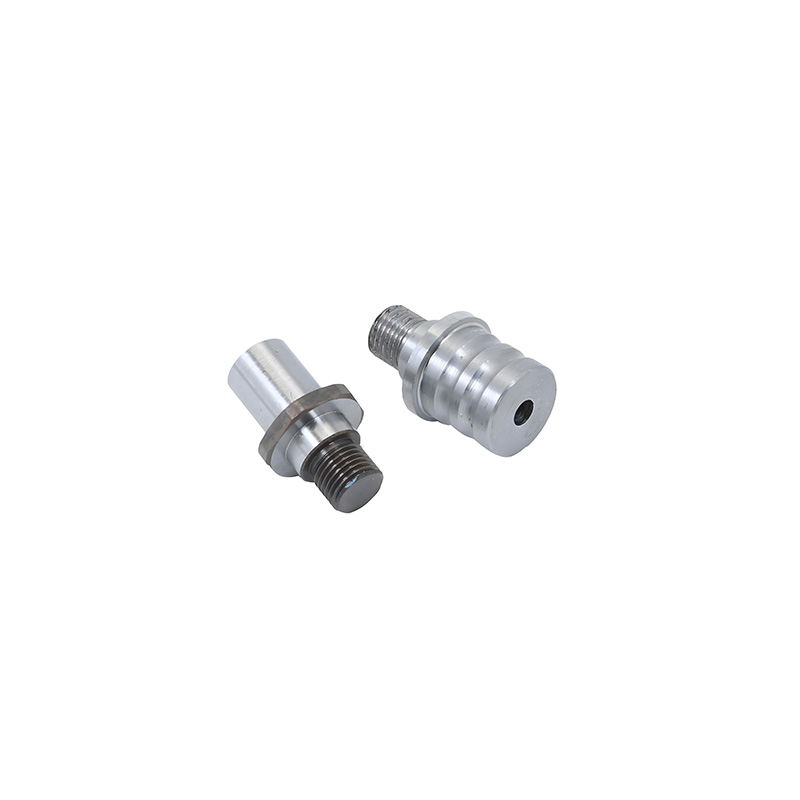
Ever wondered why some precision components fail while others last decades? The secret lies in rigorous quality control. As a CNC turned parts manufacturer, overlooking even one QC step can cost thousands in recalls. Let’s break down the non-negotiables.
Many assume material certificates are foolproof. Actually, we’ve seen mismatched alloys in 3% of “certified” batches. Always conduct spectrometer testing upon receipt. For example, a medical client once reported premature part corrosion – traced to incorrect 316L stainless steel delivery. Cross-checking saved a $50k contract.
Waiting until final inspection? Big mistake. Implement staged measurements using calibrated gauges after roughing and finishing. Automotive clients demand tolerances within ±0.005mm – achievable only with mid-process corrections. Pro tip: Use statistical process control (SPC) software to predict deviations.
| Method | Accuracy | Speed | Cost Efficiency |
|---|---|---|---|
| Manual Calipers | ±0.01mm | Slow (2-3 min/part) | Low equipment cost |
| CMM Machines | ±0.001mm | Fast (30 sec/part) | High ROI for batches >500 units |
Ra/Rz values affect wear resistance and sealing. In 2025, our team found vibration issues in drone motor mounts traced to inconsistent surface textures. Now we use profilometers on 20% of production runs. Fun fact: A Ra 0.4µm vs 0.8µm finish can increase bearing life by 15% (Source: Tribology International, 2024).
Never skip PPAP documentation! Here’s our 5-step FAI workflow:
This caught a threading error on aerospace fasteners last quarter – before mass production.
Micro-debris causes hydraulic system failures. Counterintuitively, 70% of contaminants enter during packaging (ISO 8573-2 data). Use cleanroom assembly for medical/optical components. We mandate Class 8 ISO standards for such orders.
Laser marking parts with unique IDs isn’t optional. When a recall occurs – like the 2023 valve body incident – batch tracing slashes investigation time. RFID tags now track our components from raw material to shipment.
AQL levels determine sample sizes. For military contracts, we use Level II AQL 0.65. But here’s a critical warning:
Q: How do I choose a reliable CNC turned parts manufacturer?
A: Audit their QC lab, review FAI reports, and ask about ISO 9001:2015 certification. Visit facilities if possible.
Q: What tolerances can precision CNC turning achieve?
A: Standard: ±0.025mm. High-precision: ±0.005mm. Micro-turning: ±0.001mm (varies by material).
Q: How much does quality control add to part cost?
A: Typically 8-15%, but reduces total lifecycle costs by up to 40% through fewer failures.
Robust QC transforms CNC turning shops from commodity suppliers to strategic partners. By embedding these 7 essentials – like our proven CNC turned parts manufacturer protocols – you’ll eliminate costly errors and build industry-leading reliability.