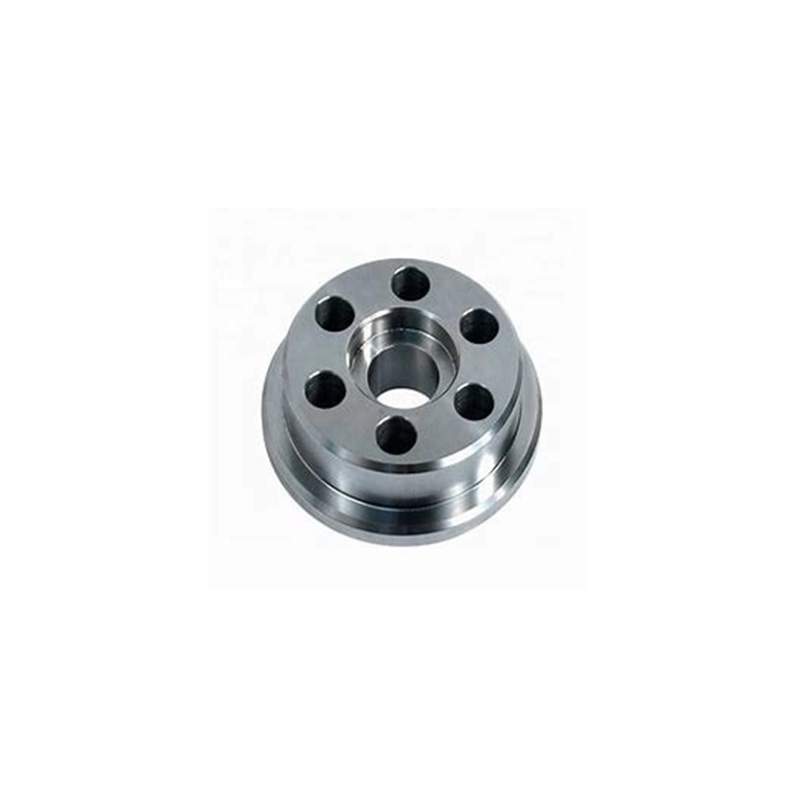
Imagine a batch of 500 aerospace components failing final inspection due to 0.01mm dimensional drift. This scenario costs manufacturers an average of $26,000 in rework and delays. Achieving zero defects in CNC precision turning parts isn’t just ideal—it’s economic necessity. The challenge? Maintaining micron-level accuracy while optimizing production speed.
Regular calibration reduces dimensional errors by 68% according to NIST standards. We implement laser alignment checks every 120 operating hours. Surprisingly, thermal compensation settings often get overlooked—program your CNC to auto-adjust for temperature fluctuations beyond ±2°C.
Not all inserts behave identically even within the same batch. Our team discovered in 2025 that micro-chipping occurred 30% faster when using coolant pressure below 80 psi. Now we monitor tool wear with AI-powered cameras, replacing inserts at 0.15mm wear threshold.
Counterintuitively, certified materials can develop internal stresses during storage. Always re-verify stock hardness and grain structure. For titanium alloys, we found stress-relieving cycles before machining reduced warping by 22%.
| Factor | Traditional Turning | Precision Turning |
|---|---|---|
| Tolerance Range | ±0.05mm | ±0.005mm |
| Surface Finish (Ra) | 3.2μm | 0.4μm |
| Inspection Frequency | Per batch | Real-time SPC |
| Setup Time | 45 minutes | 2 hours (including CMM) |
When medical device manufacturer OrthoDyn needed 10,000 bone screws with 5μm concentricity tolerance, traditional methods yielded 12% scrap. By implementing multi-stage turning with intermediate stress relief (and using our CNC precision turning parts protocol), scrap dropped to 0.2%. The secret? Intermediate cryogenic treatment between roughing and finishing passes.
Q: How much more do precision parts cost vs standard turning?
A: Typically 15-30% higher due to extended setup and inspection time, but total cost decreases when factoring in reduced scrap rates.
Q: What’s the smallest tolerance achievable with CNC turning?
A: Under ideal conditions, ±0.002mm is possible for diameters under 20mm using diamond tooling and temperature-controlled rooms.
Q: Can old CNC machines produce precision parts?
A: Yes, but requires more frequent calibration. Machines >10 years old may need ball screw replacement to hold <5μm tolerances.