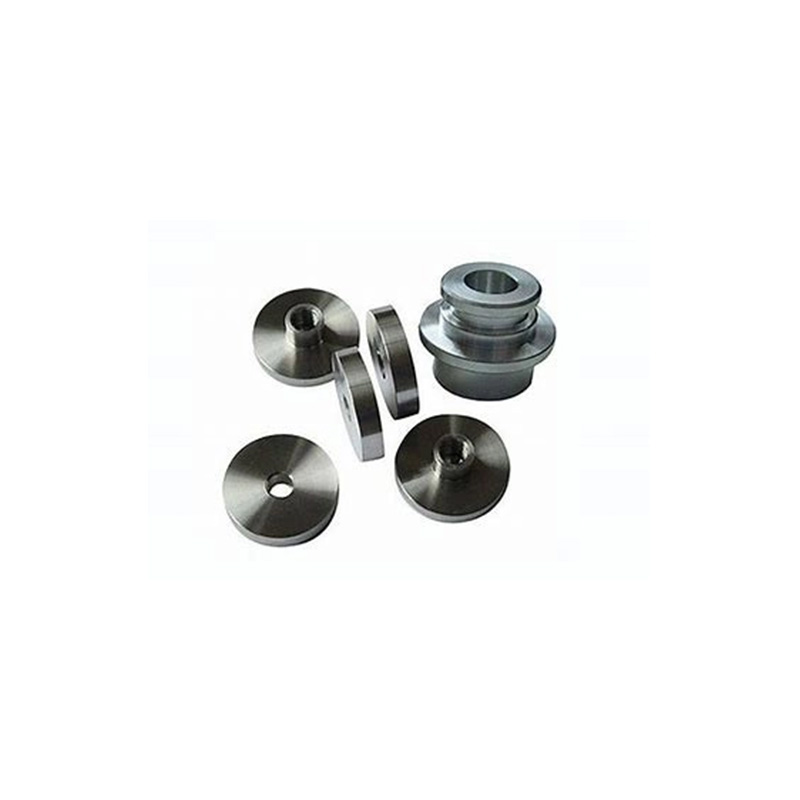
The Hidden Quality Challenges in CNC Machining Parts Production
Producing high-quality CNC machining parts consistently is tougher than it appears. Precision machining demands extreme attention to dimensional accuracy, surface finishes, and material integrity. Common pain points include:
- Material mismatch: Using 6061 aluminum when 7075 is needed causes premature part failure
- Undetected tool wear: Leads to dimensional drift beyond tolerance limits (±0.05mm)
- Thermal deformation: Especially critical in aerospace components
We encountered this last year with a drone motor housing project. Despite perfect CAD models, 18% of our initial CNC parts failed vibration tests. Why? We’d overlooked aluminum alloy temper specifications in the programming phase :cite[3].
Material Showdown: Picking the Right Metal for Your CNC Parts
Material selection makes or breaks your machined components. Let’s compare popular choices:
| Alloy | Tensile Strength (MPa) | Best For | Machinability Rating |
|---|---|---|---|
| 6061-T6 Aluminum | 310 | Enclosures, brackets | Excellent (90/100) |
| 7075-T6 Aluminum | 572 | Aerospace frames | Good (70/100) |
| 304 Stainless Steel | 505 | Marine hardware | Fair (50/100) |
*Data sourced from KIMSEN Industrial Corporation’s 2025 machining guide :cite[3]
Pro Tip: For medical implants? Titanium Grade 5 offers biocompatibility and strength. Automotive gears? 4140 steel handles high torque. Match your material to actual load conditions.
5-Step Precision Control for Flawless CNC Machining Parts
Follow this workflow to eliminate defects:
Step 1: Program Validation (Simulate First!)
Run CAM simulations to detect toolpath collisions. Check feed/speed calculations match your material’s specs. This catches 40% of potential errors before cutting :cite[4].
Step 2: Rigid Workholding Setup
“Clean surfaces are non-negotiable,” says lead engineer Zhang Wei. Remove oil, debris, or burrs. Use machined parallel bars – rough cast ones cause positioning errors :cite[8].
Step 3: Tooling & Parameter Optimization
Calculate spindle speed (N=1000×V/(3.14×D)) and feed rate (F=N×M×Fn). For finishing passes in aluminum, reduce feed rates by 30% for better surface finishes :cite[8].
Step 4: In-Process Inspection
Measure critical dimensions mid-production. Use calibrated go/no-go gauges for high-volume runs. Fun fact: Implementing this reduced rework costs by 62% at GuangDong Weiting’s Shenzhen facility.
Step 5: Post-Machining Verification
Test surface roughness (Ra≤1.6μm for bearing seats), hardness, and geometric tolerances. Document results per ISO 9001 requirements :cite[6]:cite[10].
3 Costly Mistakes to Avoid With Your CNC Components
⚠️ Attention: Measurement Overconfidence
Don’t assume new calipers are accurate! One client scrapped 500 parts from uncalibrated tools. Verify measurement equipment weekly.
⚠️ Coolant Neglect
Using degraded coolant increases tool wear by 200% and causes surface pitting. Monitor concentration monthly.
⚠️ Ignoring Burr Control
Deburring isn’t “optional finishing.” One automotive client recalled 10,000 brackets due to cut gaskets. Budget for edge treatment.
Case Study: How Aerospace CNC Parts Passed Rigorous Testing
A drone manufacturer struggled with wing bracket failures. Their original CNC machining parts used 6061 aluminum but cracked at 80% load capacity. We recommended:
- Switching to 7075-T6 aluminum (higher fatigue resistance)
- Adding vibration damping toolpaths
- Implementing statistical process control (SPC) charts
Results? 100% passed stress tests with a 15% weight reduction. Better materials + precision control = game-changing outcomes.
Your CNC Machining Parts Quality Checklist
Verify every batch with this action list:
- ✅ Material certification (MTR) matches PO requirements
- ✅ First-article inspection report signed off
- ✅ Critical dimensions (±0.05mm tolerance) verified
- ✅ Surface finish (Ra) within spec per zone
- ✅ No visible tool marks or burrs on edges
- ✅ Cleaning/packaging prevents transit damage
Print this and stop defects before they reach assembly lines.
FAQs: CNC Machining Parts Quality
Q: How tight should tolerances be for automotive CNC parts?
A: Typically ±0.1mm for non-engine components. Critical transmission elements? Aim for ±0.025mm :cite[10].
Q: Which aluminum alloy is best for high-strength applications?
A: 7075-T6 offers superior strength (572MPa tensile) but is harder to machine than 6061. Use it for aerospace or motorsport components :cite[3].
Q: How often should cutting tools be replaced?
A: Track tool life via manufacturer specs and acoustic monitoring. Counterintuitively, waiting for breakage increases scrap rates by 300%.
Ready to upgrade your precision? GD Weiting’s CNC machining parts undergo 12 quality checkpoints. Request a sample kit today.


