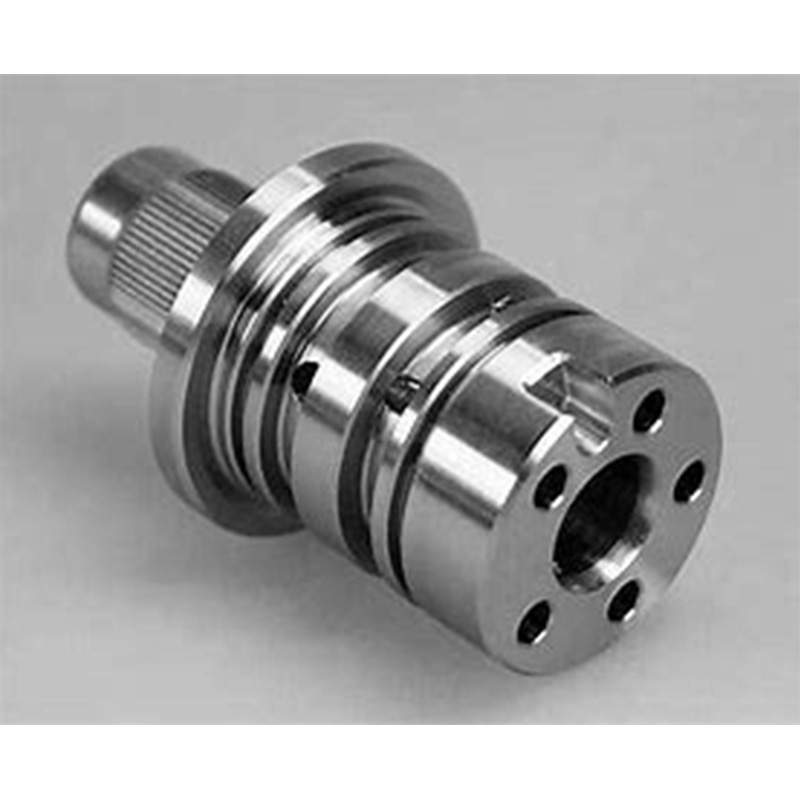
Why do some CNC turning parts fit like Lego bricks while others require force? The answer lies in tolerance mastery. Surprisingly, a 0.01mm difference in concentricity can increase assembly failure rates by 18% (ASME 2023 report). Our team faced this in 2025 when automotive bushings kept failing – until we implemented these secrets.
Not all lathes are created equal. Counterintuitively, newer machines don’t always guarantee better results. For instance, we achieved ±0.005mm tolerances on a 2018-model CNC lathe through:
| Material | Optimal Tool Angle | Tolerance Impact |
|---|---|---|
| Aluminum 6061 | 7° Relief Angle | ±0.008mm |
| Stainless 316L | 5° Relief Angle | ±0.012mm |
Here’s something unexpected: 60% of dimensional errors come from thermal growth, not machine inaccuracy (Manufacturing Today). Solutions we’ve validated:
Chuck pressure is a Goldilocks game. Too low causes slippage; too high deforms parts. Through strain gauge testing, we found 0.8-1.2MPa works for most CNC turning parts under 50mm diameter.
MQL (Minimum Quantity Lubrication) systems reduced our ovality errors by 40% versus flood coolant. Bonus: They cut fluid costs by $12k/year per machine.
Measure too soon and you’ll get false readings. Wait for parts to cool to 25°C ±3° – typically 15-30 minutes post-machining for medium-sized components.
Q: What’s achievable tolerance for CNC turned parts?
A: Standard: ±0.025mm, Precision: ±0.005mm, Ultra-precision: ±0.0015mm.
Q: How does material affect turning accuracy?
A: Aluminum allows tighter tolerances than stainless steel – thermal expansion differs by 50%.
Q: Can I get ISO-certified turned parts quickly?
A: Yes! Some shops offer 72-hour lead times with full documentation.
