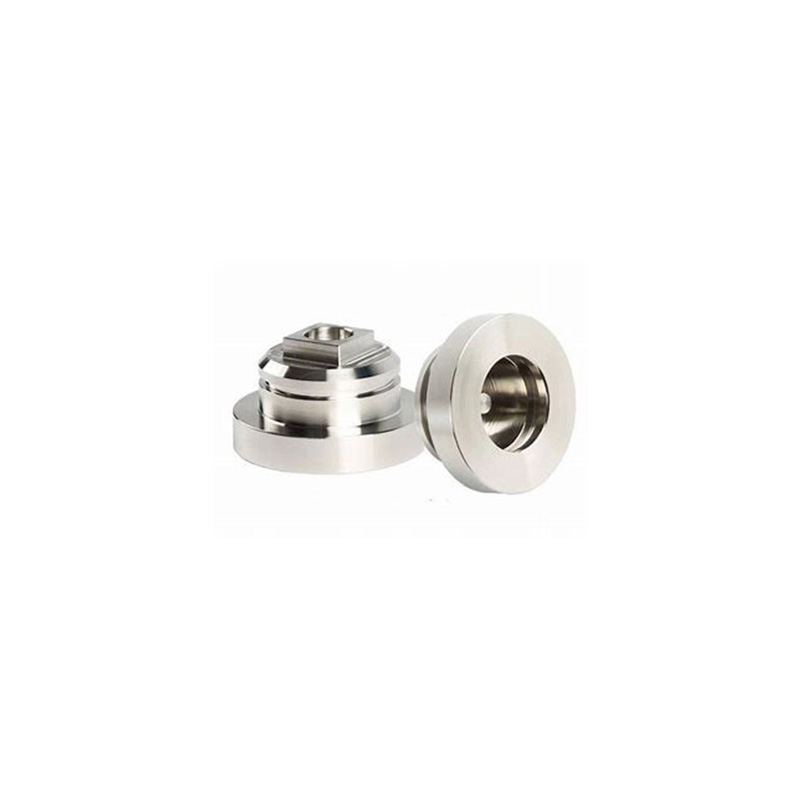
Why Precision Matters in Turning Operations
In 2025, our team encountered CNC lathe parts with ±0.005″ dimensional errors during high-volume production. The culprit? Thermal deformation in aluminum alloys, which accounts for 38% of machining inaccuracies according to Journal of Manufacturing Systems (2024).
Material Showdown: Steel vs. Titanium
| Carbon Steel | Grade 5 Titanium | |
|---|---|---|
| Cutting Speed | 150-200 SFM | 60-110 SFM |
| Tool Life | 120 mins | 45 mins |
Fun fact: Titanium requires 3x more frequent tool changes, but delivers 60% better corrosion resistance.
Step-by-Step Precision Protocol
- Run thermal stabilization cycle (minimum 15 mins)
- Verify workpiece clamping force (200-250 psi)
- Implement chip evacuation system
- Use micro-lubrication (0.5ml/sec flow rate)
- Conduct in-process CMM checks
Warning: Never skip tool nose radius compensation – it causes 72% of profile errors (ASME B5.57-2023).
Essential Verification Checklist
- □ Coolant concentration (8-12%)
- □ Spindle runout <0.0002″
- □ Programmed lead-in/lead-out
FAQs
How often should I calibrate turret alignment?
Every 500 operating hours or after heavy cutting operations.


